Pantera
Club
| Colorado Pantera Club |
|||
Rebuilding a Ford 351 Cleveland
Part 2: Ford 351C Teardown
Start at the top. I had already previously removed the intake manifold, rocker arms, push rods, lifters, and camshaft. If you were starting with a "complete" engine then you'd have to remove all that stuff first. Leave the valve springs in for now, as they are more easily removed on a workbench later. You'll notice in these pictures that I waited until the very end to remove the oil pressure sender. This is because it was seized into the block and I was saving that unpleasant task for the end.
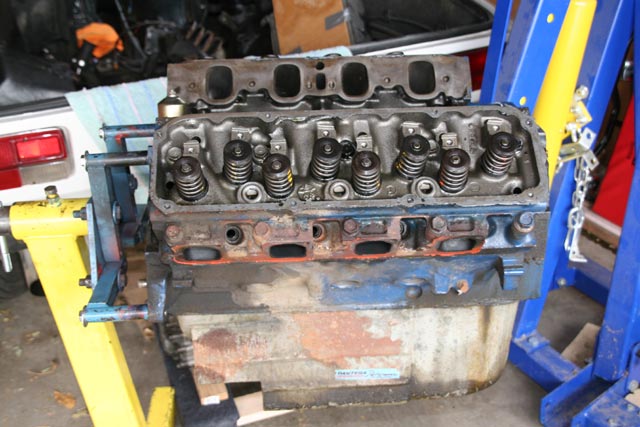
| Remove the heads. They'll be heavy, so be prepared for some serious lifting. It is smart to roll your engine stand next to a sturdy workbench so that when you lift the heads off you don't have to carry them very far. The alignment dowels should prevent them from sliding off the block, but it might be good to have a helper keep a hand on them while you remove the last bolts just in case.
Have some wooden blocks ready on your workbench to set the heads on so you don't squish your fingers setting them down! |
 |
||
| Remove oil pan bolts. Now that the top end is gone, roll the engine stand skewer over so you've got a good look at the underside of the engine. There's a million little bolts holding the oil pan on, but they're not torqued very tight so they come out pretty easily. My impact wrench was too big to get to these bolts, so I had to do it by hand with a ratchet. A "speed handle" socket tool would probably work well here. | 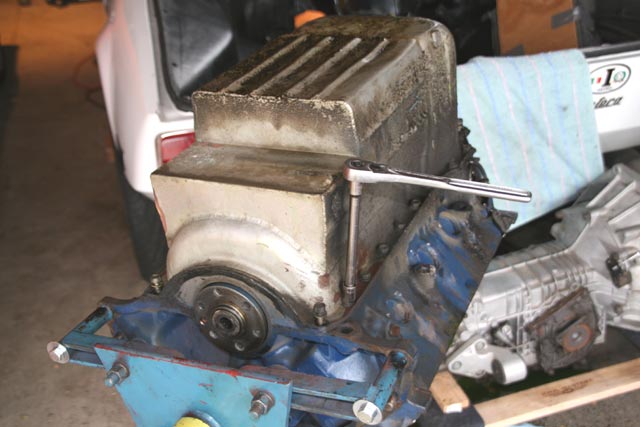 |
||
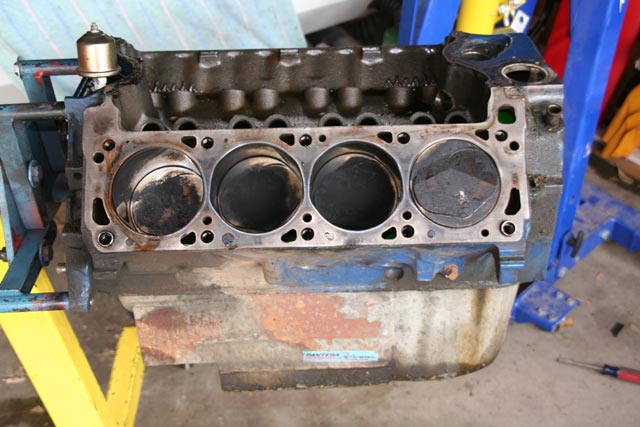
| Pull the oil pan off. This will take a little jimmying with a small screwdriver to separate the pan from the gasket sealant. I worked slowly and carefully around the edge with a small screwdriver so as to not bend the pan lip. When it pops loose, lift it straight up to expose the oil pump and crankshaft.
One word of caution from experience: You'll be surprised how much oil is still in the pan. It will spill everywhere, so be sure to do this over a painter's canvas or trash bags or something like that. Otherwise you're going to have an oily mess everywhere! |
 |
||
| Remove the oil pump. It's held down with a couple of bolts that are accessible with a box-end wrench. | 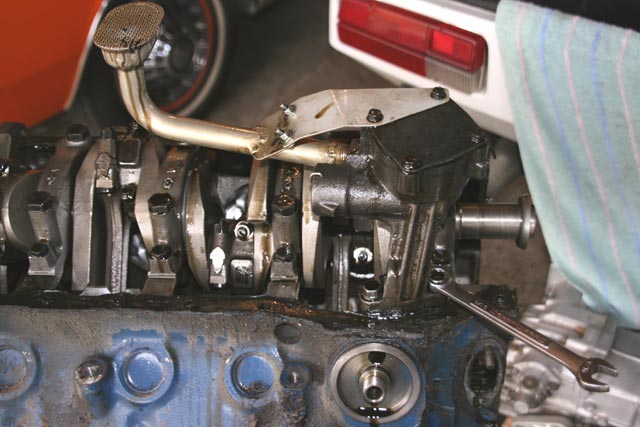 |
||
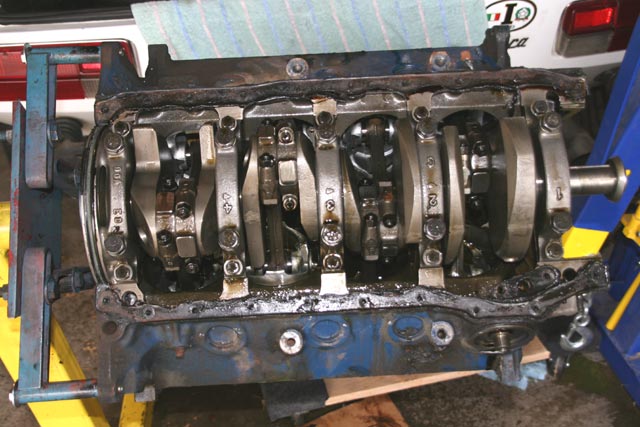
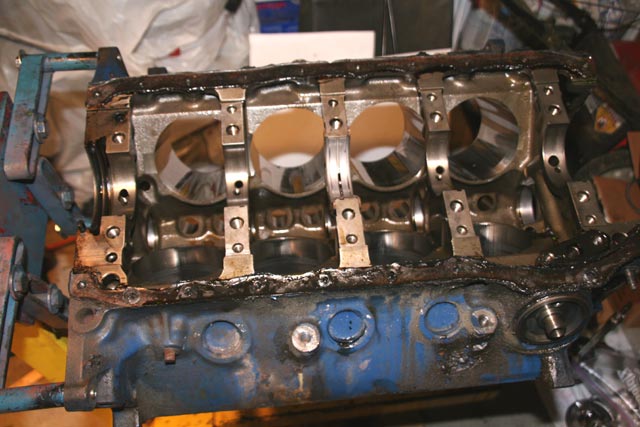
| Have a look at the bottom end. I took this picture mostly to document what everything looked like in there just in case I had any confusion later during re-assembly.
I was pleasantly surprised to see that I had 4-bolt main bearing caps. The Cleveland was produced with both 2-bolt and 4-bolt main caps. Although both are very stout castings, the 4-bolt mains are said to be better for high rpm usage as they prevent bearing walk. |
 |
||
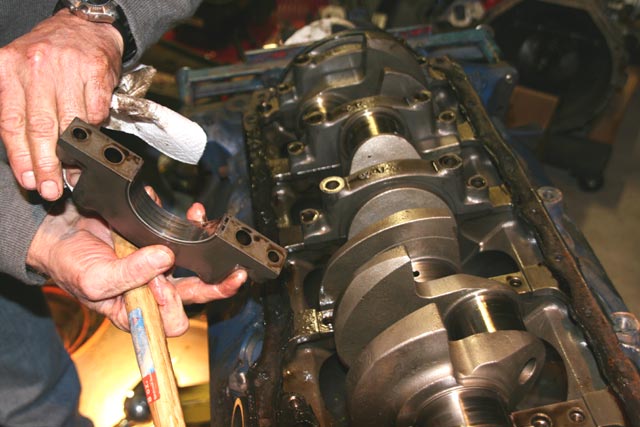
| Loosen main bearing bolts. While I was at it, I loosened the rod bearing bolts too. We removed the rods first, then we proceeded to remove the main bearing caps. | 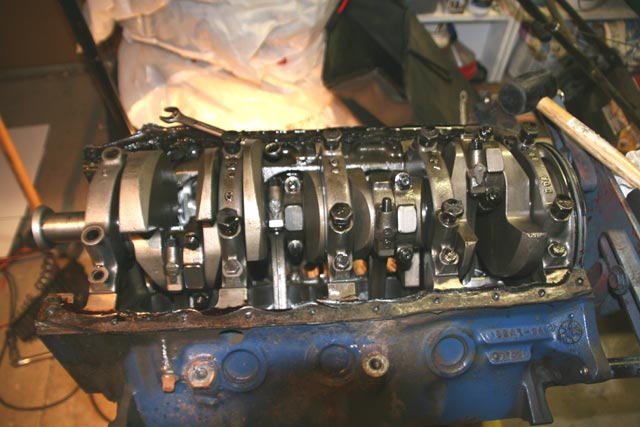 |
||
| Remove rods, pistons, and main bearing caps. I forgot to take photos of the rod/piston removal, so you'll notice in this photo that the rods have "magically" disappeared. The main bearing caps needed some light tapping with a rubber mallet to knock them loose after removing the bolts. | 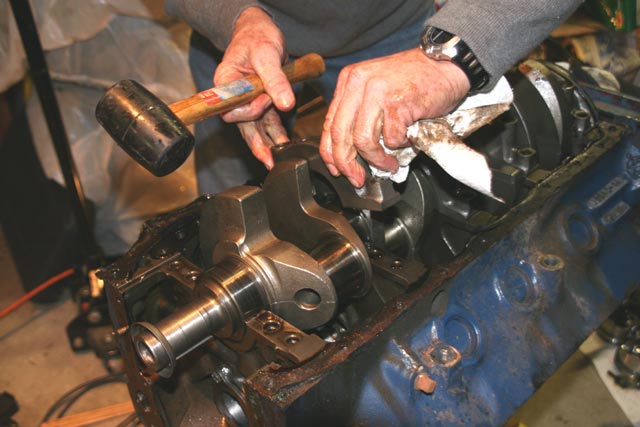 |
||
| Inspect the bearings and keep track of their location. Try to keep everything together and labelled for inspection later. I put everything into individually labelled Ziploc storage bags. This photo also shows the nice healthy 4-bolt main caps. |
 |
||
| Remove the crankshaft and the remaining bearings. The crank is another heavy item, so know where you're going to put it before you lift it out. I set it vertically in a corner of the garage resting on a pile of old towels. After cleaning all the oil off it, I wrapped it up in a towel and some foam packaging sheet so that the surfaces don't get nicked during any handling.
In this picture we see an almost-bare block. |
 |
||
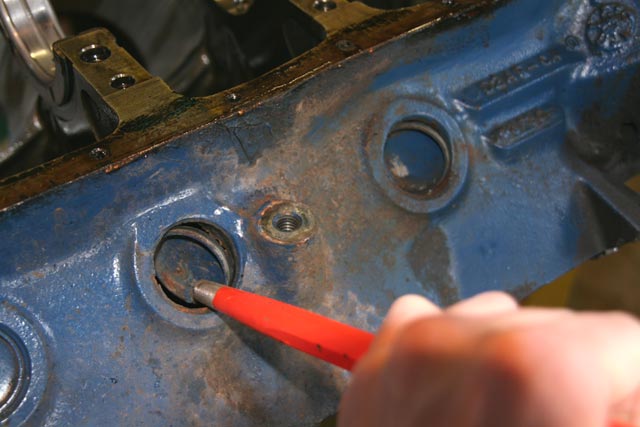
| Remove freeze plugs and miscellaneous oil plugs. The oil plugs are fairly straightforward. Mine were either square heads or hex sockets. There's one on each side of the block, and also a pair in each end of the block near the camshaft.
The freeze plugs stumped me at first, as the rebuild book I had at the time didn't say exactly how to remove them. Finally I found another resource that recommended punching the freeze plugs in, then pulling them out with pliers. So that's what you can see here. |
 |
||
| Remove the freeze plugs (continued). After using a hammer and punch to punch one side of the freeze plugs in, I used a pair of pliers to pull them out. These are throw-away items so don't worry about damaging them. Try not to chew up the edges of the block though. | 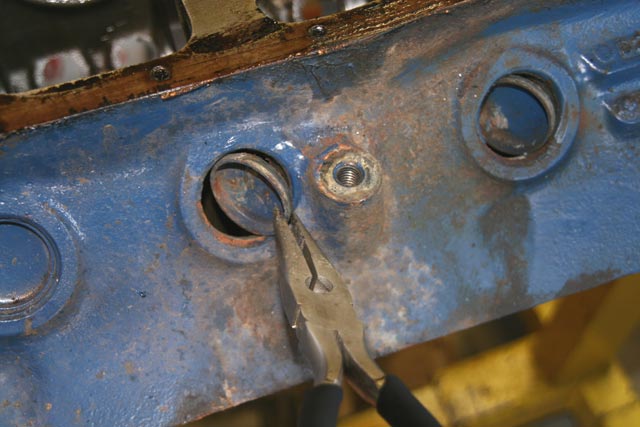 |
||
| And now I've got a bare block. Actually, the cam bearings are still inside since a special mandrel-type tool is required to pull those. I'll have the machine shop pull those out. Other than that, the block is ready for a thorough cleaning and machining if needed. | 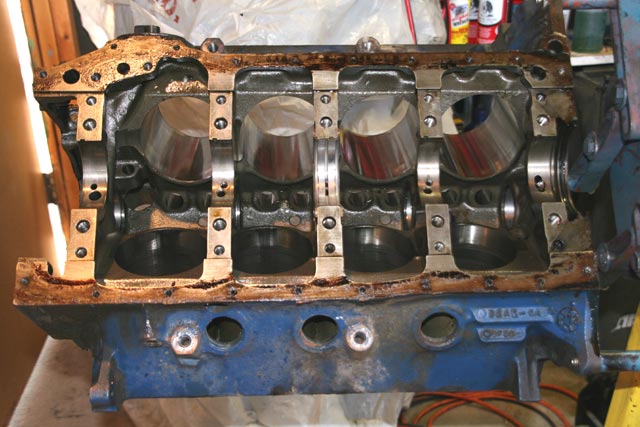 |
||
| Package and label everything. Heavy-duty Ziploc bags came in handy here. Even though a lot of this stuff will be replaced (like bolts, bearings, rings, etc.) it's good to keep everything together for now for the purpose of inspection and forensics later. | 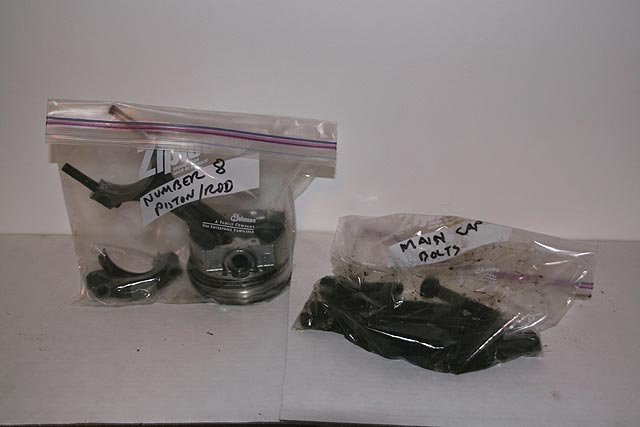 |
||
| Continue to Part 3 - Inspection photo gallery | ||
Click here to return to the home page.
Contents copyright 2009-2010.