Pantera
Club
| Colorado Pantera Club |
|||
Rebuilding a Ford 351 Cleveland
Part 8: Installing the Engine in the Pantera
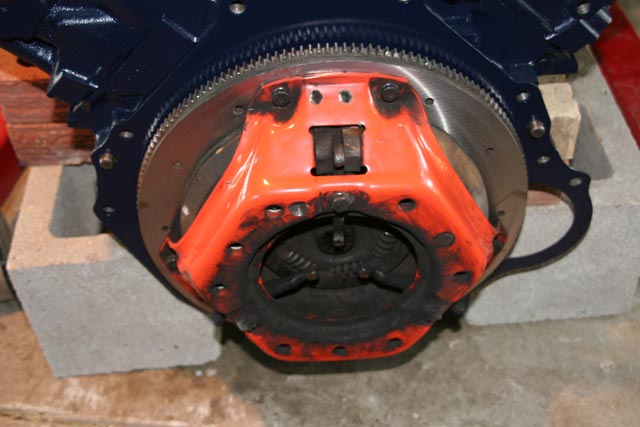
Clutch and gearbox. Use the hoist to lift the engine while removing the engine stand. I set the engine on blocks to allow the gearbox to be attached. First install the flex plate, flywheel, pressure plates, and clutch. You'll need a clutch alignment tool to accomplish this. Then bolt up the gearbox.
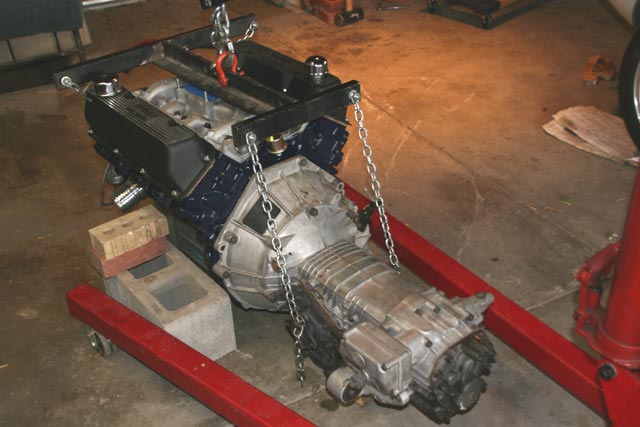
| Rig up the assembly. Using the engine cradle, attach two chains to the front heads. Attach the rear two chains to the u-joint flanges. Now is a good time to cover the intake opening with tape so that nothing falls in during installation. |
 |
||
| Hoist up the engine. We added a third come-along around the end of the gearbox to give us a point to pivot. | 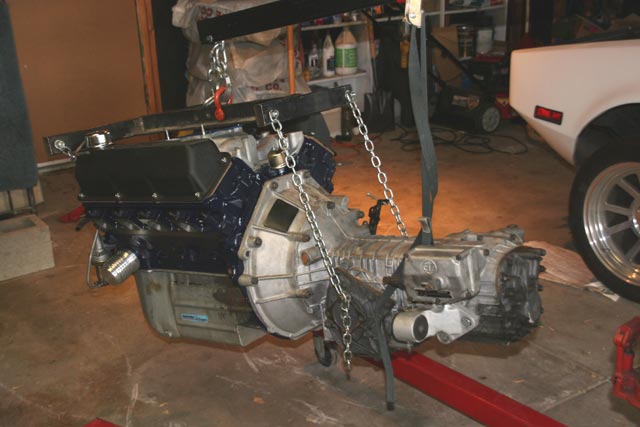 |
||
| Position the engine over the engine compartment. Now is the time to carefully study the clearances. The black strap around the exhaust ports is a safety strap. | 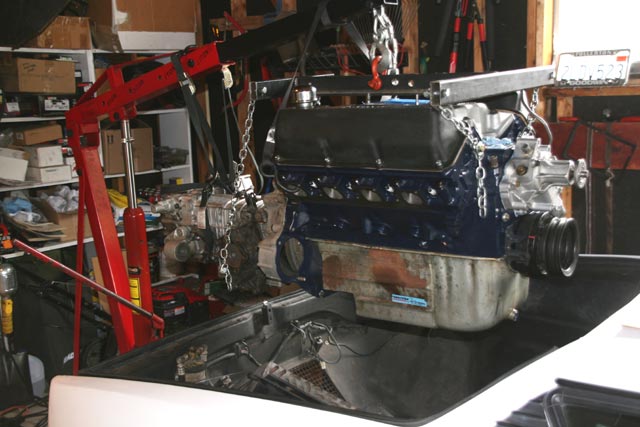 |
||
| Another view. Right about now is when we realized it would be smart to put a piece of carpet over the rear of the body to keep it from getting scratched in case the gearbox bumped into it. | 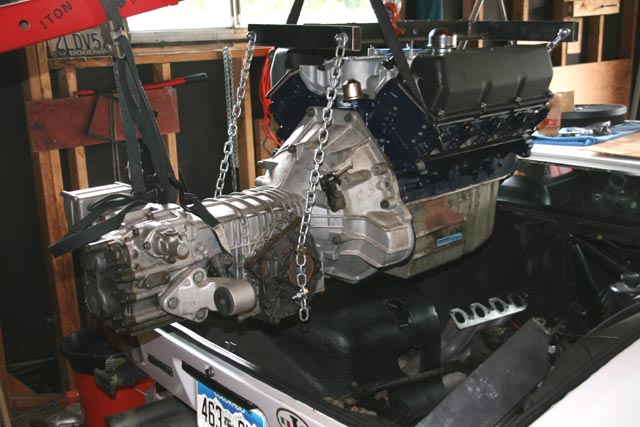 |
||
| Start dropping her in! The front end goes in first at a pretty steep angle. Use the extra strap at the end of the gearbox to lift the rear up. Carefully watch the clearance between the front of the engine and the roof of the car. | 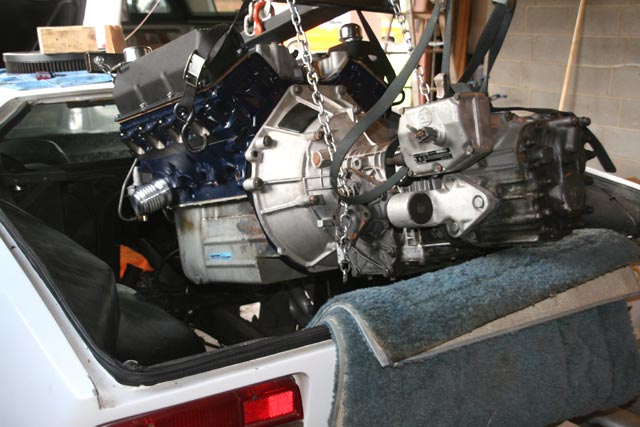 |
||
| The magic happens. It's a slow process, but it can be done. You'll only have a few inches of clearance at the front and rear, but with a little patience it will all fit in. | 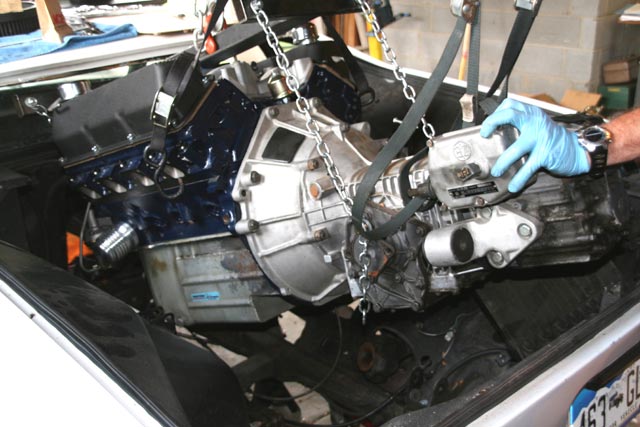 |
||
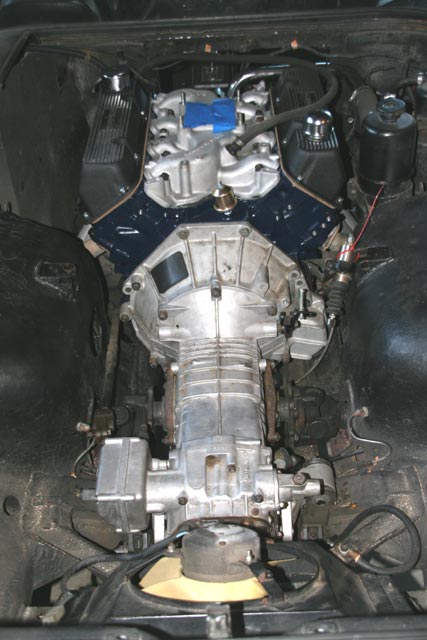
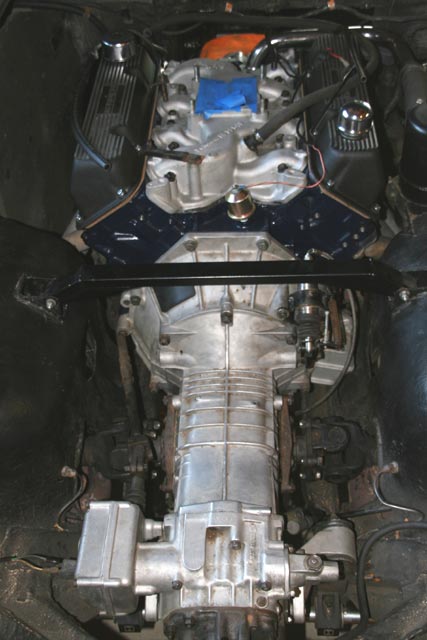
It's in! Now the engine is in place and seated on the mounts. Getting the engine to align on the mounts was a real pain. Once that was done, you can begin attaching everything to the engine, such as exhaust headers, clutch slave cylinder, fuel lines, coolant lines, etc. |
 |
||
Continuing assembly. In this photo the only things remaining to install are the distributor and carburator. You can theoretically install the distributor and carburator prior to installing the engine in the car; however they will get in the way of everything and make installation more difficult. |
 |
||
| Assembly complete. In this photo pretty much everything is installed and the engine is ready for test-fire. During the initial 30 minute run-in, I took the air cleaner off to give good access to the distributor and carburator adjustment screws. | 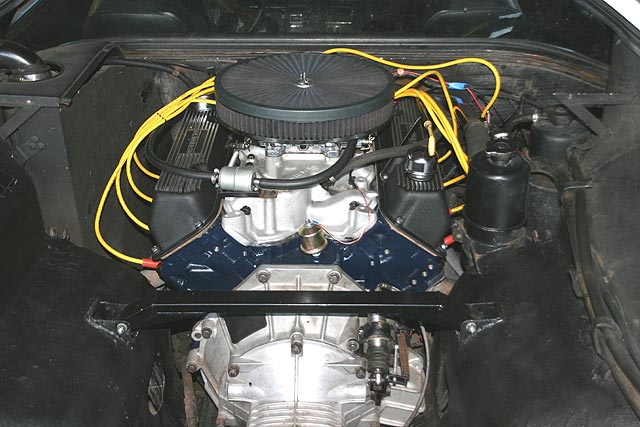 |
||
Click here to return to the home page.
Contents copyright 2010.