Pantera
Club
| Colorado Pantera Club |
|||
Rebuilding a Ford 351 Cleveland
Part 7: Assembling The Top End
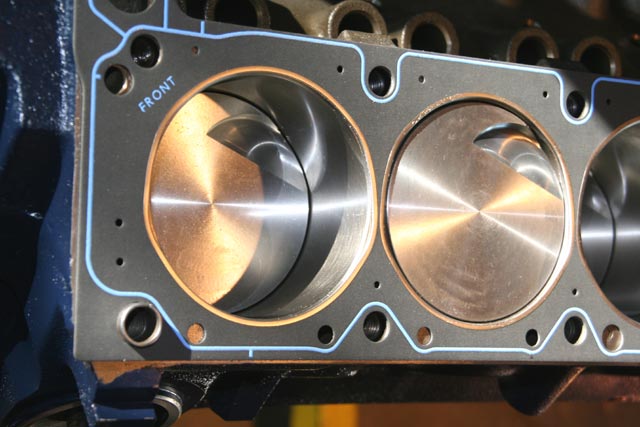
Head gaskets. Clean the head gasket surfaces and lay the new gaskets in place. They are marked with "Front" so you can't get them wrong. Set the heads on the dowels and hand-set the head bolts. Then start torquing them. This is another crucial torque application. Be sure to follow the proper torque sequence and do it in 1/3 increments. The final torque values should be 95 to 105 foot-pounds.
I ended up taking mine all the way to 105
foot-pounds.
| Valvetrain and intake manifold. I didn't take as many pictures of this as I would have liked, but it's pretty straightforward. Coat the lifters in oil and set them into their bores. Install the guideplates and insert the push rods. Set the rocker arms on the studs and torque them per the manufacturer's recommendations. CompCams has pretty good instructions on how to do this, so I won't get into that detail. Once the valvetrain is set-up and adjusted, you're ready for intake manifold installation. | 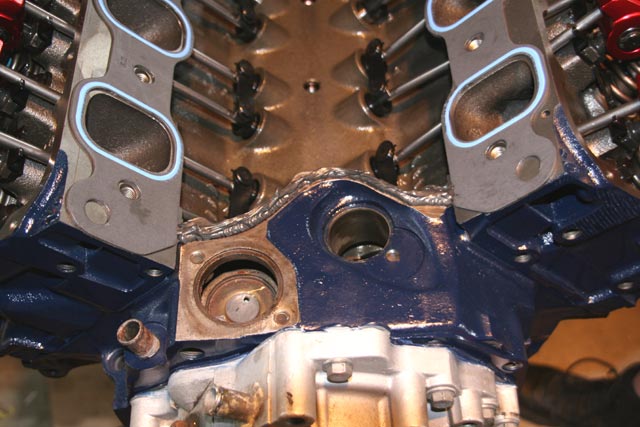 |
|||
| Locate the intake manifold gaskets on the heads with a high-tack sealant like Gasgacinch. I chose to discard the cork front and rear valley seals and just used a 1/4" bead of silicone sealant instead (the gray stuff shown above). For the Fel-Pro Performance intake gaskets, you don't put any sealant between the manifold and the port gaskets. | ||||
| Install intake manifold. Set the manifold in place and hand tighten the bolts. Check alignment of everything and make sure the silicone front and rear seals are contacting the manifold bottom. Then torque the manifold bolts down in proper sequence. Let everything dry overnight, then re-torque everything. | 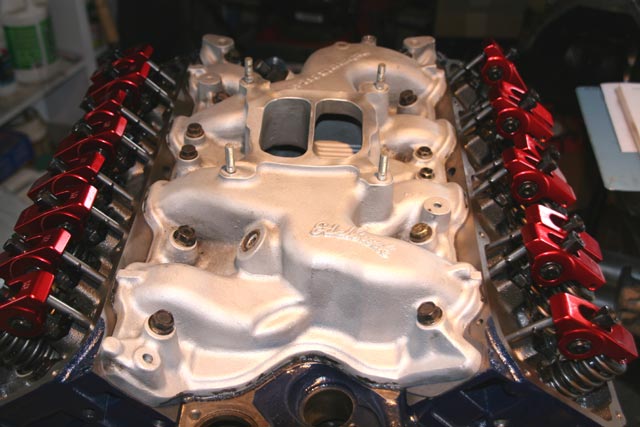 |
||
| Now it's starting to look like a real engine! After installing the valve covers, the 'ole Cleveland is starting to look pretty sweet. We're almost ready to stick it into the car. First, be sure the crank is rotated to the #1 TDC position on the compression stroke. This will make setting your initial timing easy when you install the distributor. | 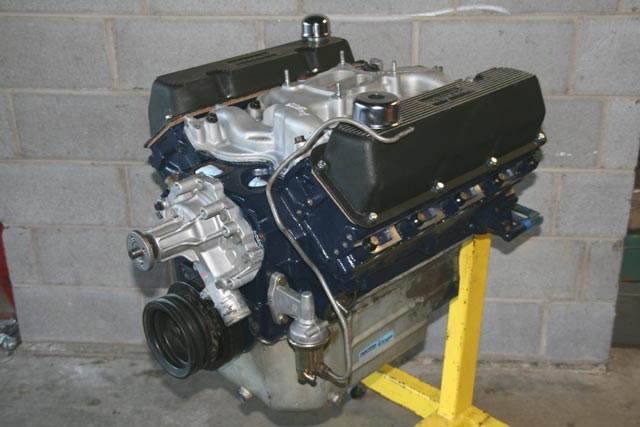 |
||
| New oil filter. I'm using a reusable high performance oil filter from K&P Engineering. Now is a good time to install a few other things before you cram the engine into the car. You can install the spark plugs, oil dipstick tube, and oil pressure sender now. | 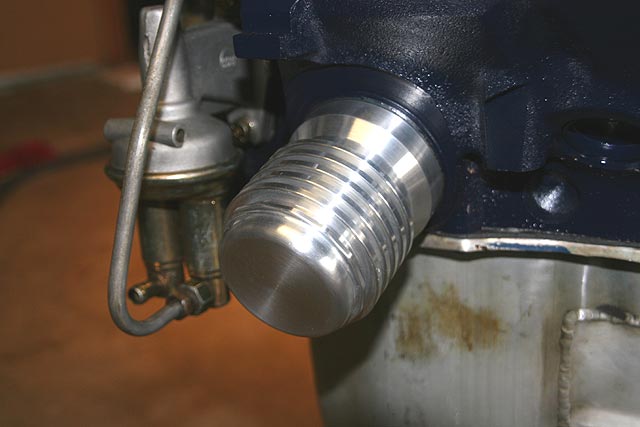 |
||
| Prime the oil pump! We almost forgot to do this. Fill the engine with the appropriate amount of oil (for mine it's about 9 quarts). The oil pump drive shaft is a 5/16" hex pattern, so we pieced a couple 1/4" drive socket extensions together with a 5/16" socket on the end and chucked them into the drill. We put a little duct tape on the socket connections just to be sure nothing falls off into the oil pan. Turn the drill at about 1000 rpm in reverse until you see oil flowing into the rockers. | 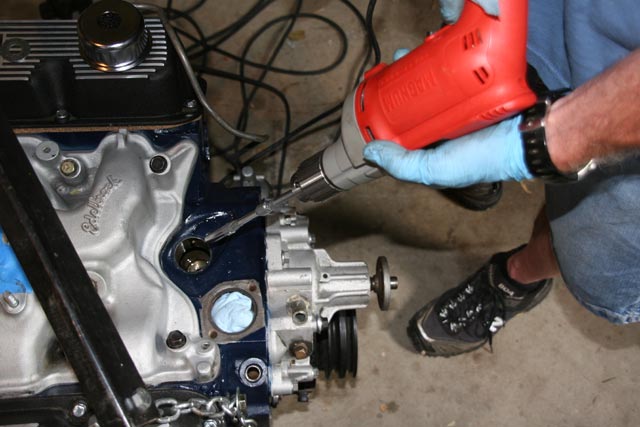 |
||
Click here to return to the home page.
Contents copyright 2010.